Intro
In this feature, we help you create the Basketball Dunking Time Laser Cutting Build.
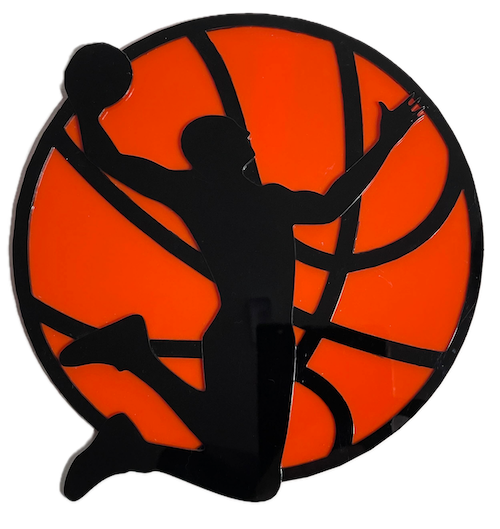
Create your own basketball-themed wall art using a laser cutter. Design and cut the silhouette of a player dunking against a basketball backdrop from acrylic sheets. This project combines your love for basketball with functional item art, perfect for any sports enthusiast.
- The Basketball Dunking Time laser cutting Build is a wall artwork.
- A meaningful gift for all ages.
- This laser cut design uses 3mm acrylic .
- It is an an easy Build, and I estimate this can be completed in 2.5 hours.
However, the overall completion time will depend on the laser cutter you are using, the overall size of the project, and your individual experience level. If you think the time estimate should be adjusted, feel free to share your thoughts via a comment below.
The paid design can be downloaded here. (please notify me if the link is down)
How-to guide
Step 1. Prepare materials before starting

- Acrylic: Choose acrylics to suit your wall and use a protective film if required.

Step 2. Set up the design file in your software

- download the project design file from the source link found on the project page.
- extract the downloaded file to access the design.
- open the design in your laser cutting software.

Step 3. Configure the laser cutter

- Adjust the design size to fit your chosen material dimensions.
- Set the appropriate laser parameters:
- Cut: Specify power and speed for clean cuts.
- Refer to the laser cutter manual for recommended material settings.

Step 4. Begin the laser cutting process

- Place the selected material onto the laser bed.
- Run the cutting process for all required layers.
- Ensure that the layers align correctly as they are cut.

Step 5. Clean up after laser cutting

- For Acrylic: Remove any protective film from the material after cutting.

Step 6. Carefully assemble the design

- Align the layers carefully to ensure proper alignment of the design.
- Use appropriate adhesives:
- Acrylic Adhesive for acrylic.
- Use clamps to secure the layers while the adhesive dries.

Step 7. Prepare the completed design to hang

- Attach a hanging mechanism, such as adhesive strips, to the back of the artwork.
- Verify that the mechanism is suitable for the wall surface.

Well done on finishing Basketball Dunking Time! Display it proudly and appreciate the detail and effort you’ve put in.

     If you enjoyed this project, please share your experience and leave a comment below.
Need some help?
- Leave a question
The completed Basketball Dunking Time