Opening
In this post, we help you create the Birds of a Feather Get Laser Cut Together Laser Cutting Build.
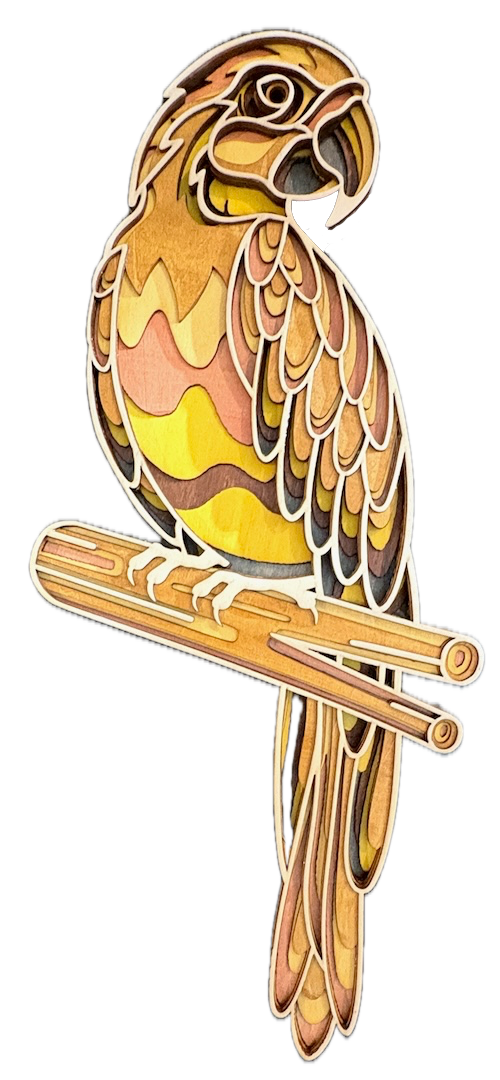
Capture the vibrant elegance of a parrot with this stunning laser-cut layered wood design! With intricate feather detailing and bold color contrasts, this project beautifully showcases the parrot’s charm while perched on a branch. Perfect for bird lovers, DIY enthusiasts, or anyone who appreciates fine craftsmanship, this unique wooden piece makes a fantastic home décor item or a heartfelt gift. Download the design files and tips here and bring this feathered friend to life in wood!
- The Birds of a Feather Get Laser Cut Together laser cutting Build is a wall artwork.
- A unique gift choice for all ages.
- The design uses plywood.
- It is an an intermediate Build, and it can typically be completed in 3.25 hours.
However, the time required for completion will depend on the laser cutter you use, the scale of the project, and your level of experience. If you think the completion time should be adjusted, feel free to share your thoughts via a comment below.
The free design can be downloaded here. (please notify me if the link is down)
Making guide
Step 1. Prepare all materials for cutting

- Plywood: Choose stains or dyes to be applied after laser cutting to enhance the natural wood texture.

Step 2. Load and prepare the design file

- access the source link to download the design file listed on the project page.
- Unzip the file to access the SVG.
- Load the SVG into your laser cutting software.

Step 3. Set up your laser cutter and settings

- Adjust the design size to fit your chosen material dimensions.
- Set the appropriate laser parameters:
- Cut: Specify power and speed for clean cuts.
- Review your laser cutter’s documentation for material-based settings.

Step 4. Begin the laser cutting process

- Place your chosen material onto the laser bed surface.
- Run the cutting process.

Step 5. Complete post-cut finishing

- For Plywood: Wipe smoke marks away with a slightly damp rag. Apply the wood stain or dye.

Step 6. Secure and assemble all layers

- Align the layers carefully to ensure proper alignment of the design.
- Use appropriate adhesives:
- Wood Glue for plywood.
- Use clamps to secure the layers while the adhesive dries.
- A gloss spray enhances and protects the artwork for plywood.

Step 7. Prepare the completed design to hang

- Attach a hanging mechanism, such as adhesive strips, to the back of the artwork.
- Verify that the mechanism is suitable for the wall surface.

That’s it — you’ve completed Birds of a Feather Get Laser Cut Together! It’s now ready to be displayed and enjoyed.

     If you enjoyed this project, please share your experience and leave a comment below.
The completed Birds of a Feather Get Laser Cut Together