Summary
In this page, we help you create the Easter Wonderland Egg Laser Cutting Work.
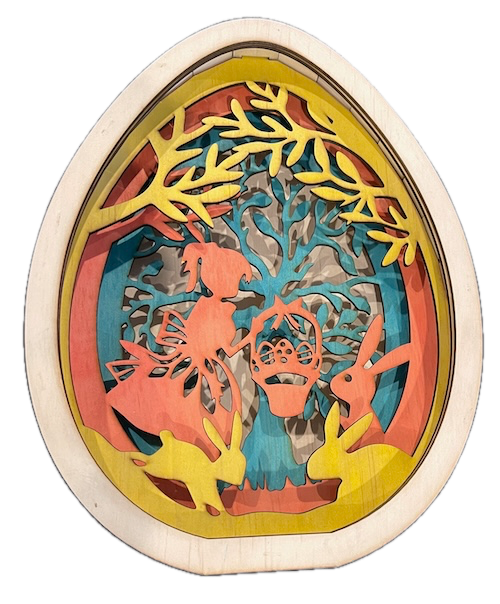
This layered wooden Easter egg scene brings charm and whimsy to seasonal décor. The project features colourful layers depicting a festive scene with bunnies, a basket, and a playful fairy under tree branches. Perfect as a gift or a home accent, users can download design files and follow instructions to create enchanting pieces. This Easter-themed project is a fun way to bring personalised creativity into celebrations.
- The Easter Wonderland Egg laser cutting Work is a desktop art.
- Often chosen as a gift for children.
- This item uses 3mm plywood.
- It is an an intermediate Work, and the design can typically be completed in 3 hours.
However, the total time to complete this will depend on the laser cutter in use, the physical size of the project, and your familiarity with laser cutting. If you feel the completion time should be adjusted, feel free to let me know via a comment below.
The free design can be downloaded here. (please notify me if the link is down)
Simple step-by-step guide
Step 1. Prepare the required materials

- Plywood: Choose stains or dyes to be applied after laser cutting to enhance the natural wood texture.

Step 2. Download and prepare the design file

- download the design file from the provided link available on the project page.
- Unzip the file to access the SVG.
- Load the SVG into your laser cutting software.
- Don't resize the item.

Step 3. Configure the cutter for this project

- Set the appropriate laser parameters:
- Cut: Specify power and speed for clean cuts.
- Review your laser cutter’s documentation for material-based settings.

Step 4. Cut the design using the laser cutter

- Position your material securely on the laser bed.
- Run the cutting processes for all required pieces.

Step 5. Finish and clean cut components

- For Plywood: Wipe smoke marks away with a slightly damp rag. Apply the wood stain or dye.

Step 6. Assemble the cut components

- Use appropriate adhesives:
- Wood Glue for plywood - I used something stretchy to wrap around the case.
- The order from the front to the back is 1) egg outline, 2) egg outline with multiple slots, 3) two bunnies, 4) girl and bunny, 5) tree 6) egg with multiple slots:

Congratulations on completing Easter Wonderland Egg! Take a photo, share it, and enjoy the final piece.

     If you enjoyed this project, please share your experience and leave a comment below.
Need a hand?
- 50 Laser Cutting tips
- Laser cut items – masking vs cleaning with a wet rag
- 25 Common Laser Cutting Mistakes and How to Avoid Them
- Leave a question
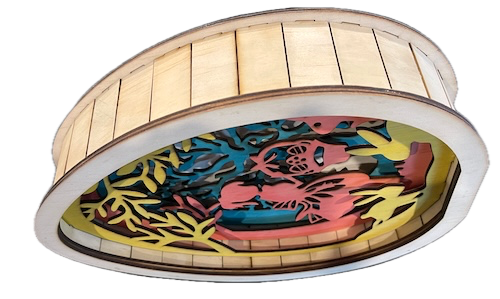
The completed Easter Wonderland Egg