Outline
In this webpage, we help you create the Mystical Meowscape Laser Cutting Build.
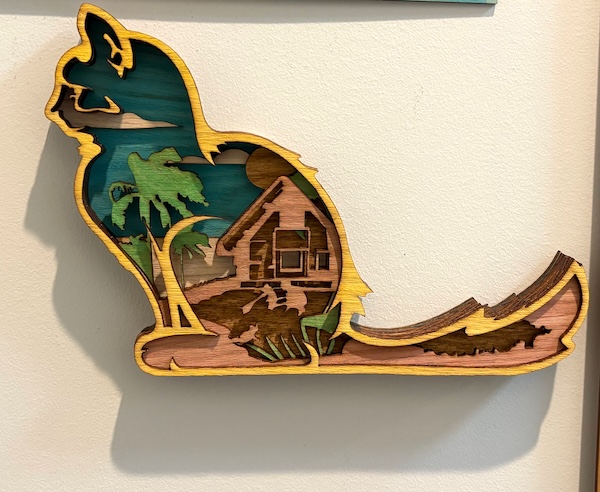
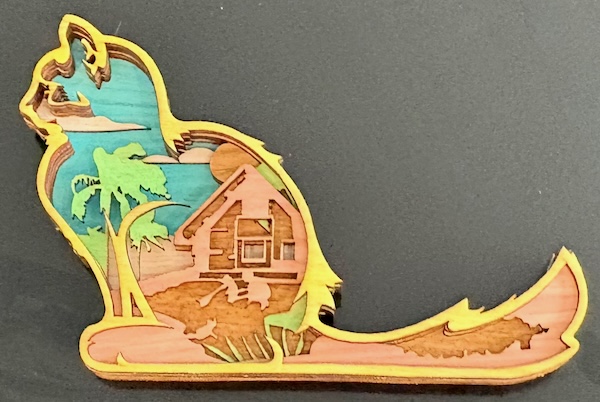
This design beautifully combines intricate layers to form a serene nature scene within the shape of a sitting cat, featuring a rustic cabin, trees, and rolling hills. Perfect as a wall decoration, shelf piece, or a heartfelt gift for cat lovers and nature enthusiasts. Download the free design files and follow the tips to create your layered masterpiece.
- The Mystical Meowscape laser cutting Build is a wall artwork.
- Suitable as a gift for all ages.
- This design uses plywood .
- It is an an intermediate Build, and I estimate this project can be completed in 2.75 hours.
However, the time it takes to complete this design will depend on the laser cutter used, the size of the project, and your experience level. If you feel the time estimate should be adjusted, feel free to let me know via a comment below.
The free design can be downloaded here. (please notify me if the link is down)
How-to guide
Step 1. Get materials prepared for the project

- Plywood: Choose stains or dyes to be applied after laser cutting to enhance the natural wood texture.

Step 2. Ready the design file for cutting

- access the source link to download the design file found on the project page.
- Unzip the file to access the SVG.
- Load the SVG into your laser cutting software.

Step 3. Prepare the laser cutter for cutting

- Adjust the design size to fit your chosen material dimensions.
- Set the appropriate laser parameters:
- Cut: Specify power and speed for clean cuts.
- Follow your laser cutter’s recommended settings for each material type.

Step 4. Cut the design using the laser cutter

- Place the material correctly on the laser bed.
- Run the cutting process.

Step 5. Complete post-cut finishing

- For Plywood: Wipe smoke marks away with a slightly damp rag. Apply the wood stain or dye.

Step 6. Secure and assemble all layers

- Align the layers carefully to ensure proper alignment of the design.
- Use appropriate adhesives:
- Wood Glue for plywood.
- Use clamps to secure the layers while the adhesive dries. When joining the front layers, placing a heavy object on top than using clamps may be more manageable.
- For plywood, use a gloss spray to enhance and protect the artwork.

Step 7. Ready the piece for mounting

- Attach a hanging mechanism, such as adhesive strips, to the back of the artwork.
- Verify that the mechanism is suitable for the wall surface.

You’ve successfully completed Mystical Meowscape! Find the perfect place to display it and enjoy the final outcome.

     If you enjoyed this project, please share your experience and leave a comment below.
The completed Mystical Meowscape