Opening
In this feature, we help you create the Sip in Style: Personalized Wedding Wine Box Laser Cutting Project.
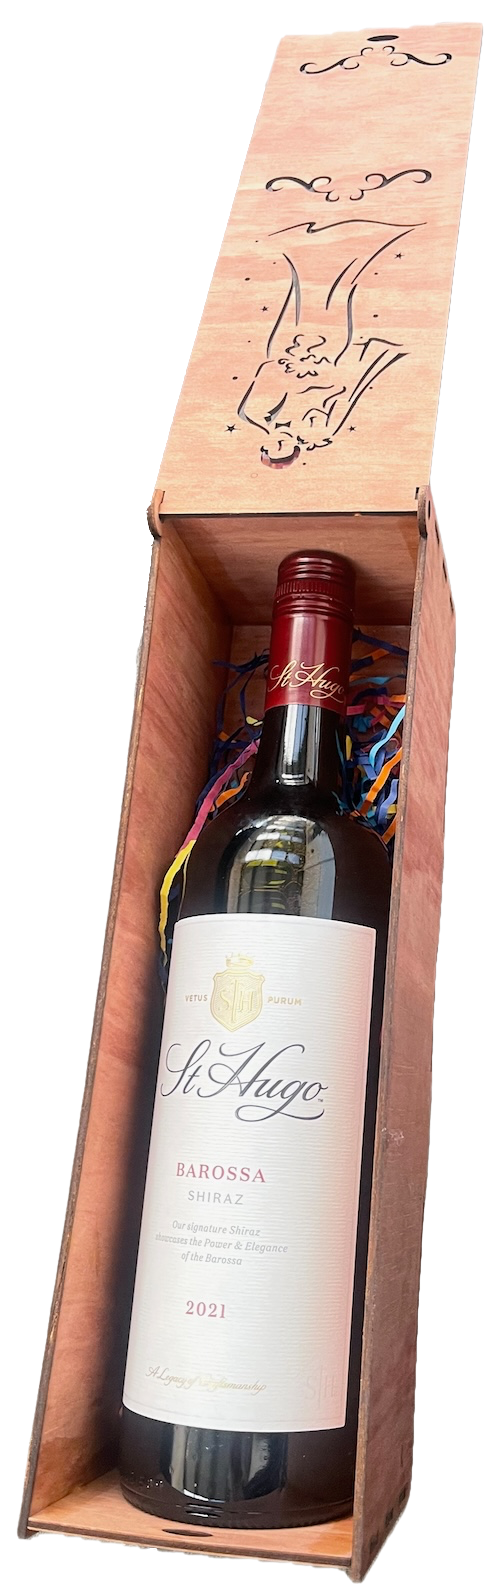
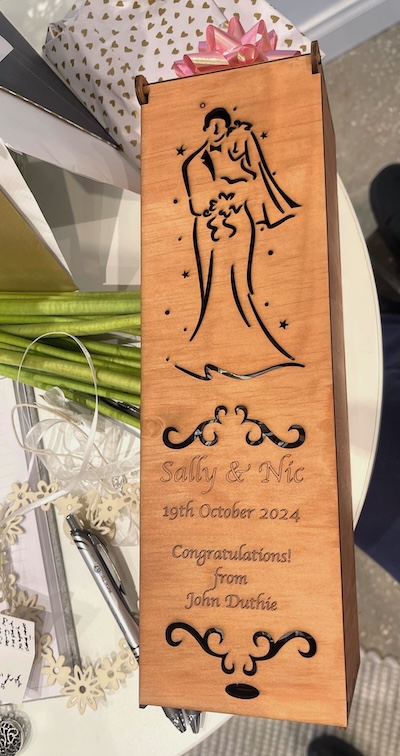
A stylish wooden wine box designed for special occasions. The box is adorned with a romantic engraving of a couple. Inside, a bottle of wine is securely nestled, making it a perfect gift to celebrate weddings, anniversaries, or other heartfelt moments. This keepsake box adds a touch of sophistication to any celebration.
- The Sip in Style: Personalized Wedding Wine Box laser cutting Project is a functional item.
- A unique gift choice for adults.
- This item uses 3mm plywood.
- It is an an intermediate Project, and I expect it can be completed in 3 hours.
However, how long this takes to complete will depend on the laser cutter being used, the physical size of the project, and your confidence with laser cutting. If you believe the time estimate should be adjusted, please let me know via a comment below.
The free design can be downloaded here. (please notify me if the link is down)
Complete build guide
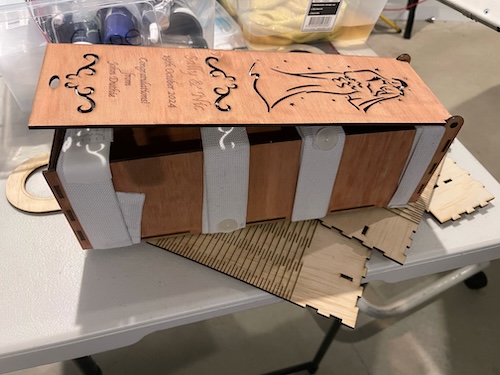
Step 1. Prepare all materials for cutting

- Plywood: Choose stains or dyes to be applied after laser cutting to enhance the natural wood texture.

Step 2. Prepare design files for cutting

- retrieve the design file using the source link available on the project page.
- Unzip the file to access the SVG.
- Load the SVG into your laser cutting software.
- Personalise the message on the front of the case.
- Don't resize the wine box.

Step 3. Configure the laser cutter

- Set the appropriate laser parameters:
- Cut: Specify power and speed for clean cuts.
- Score: Specify power and speed to ensure the words are visible.
- Use the manufacturer’s guidance when selecting material-specific parameters.

Step 4. Run the laser cutter

- Position the material evenly on the laser bed.
- Run the cutting processes for all required pieces.

Step 5. Carry out post-cut cleanup

- For Plywood: Wipe smoke marks away with a slightly damp rag. Apply the wood stain or dye.

Step 6. Assemble the finished layers

- Use appropriate adhesives:
- Wood Glue for plywood - I used something stretchy to wrap around the case.

You’ve successfully completed Sip in Style: Personalized Wedding Wine Box! Find the perfect place to display it and enjoy the final outcome.

     If you enjoyed this project, please share your experience and leave a comment below.
Need help with this build?
- Leave a question
The completed Sip in Style: Personalized Wedding Wine Box