Summary
In this article, we help you create the The Perfect Rose – No Water Required Laser Cutting Project.
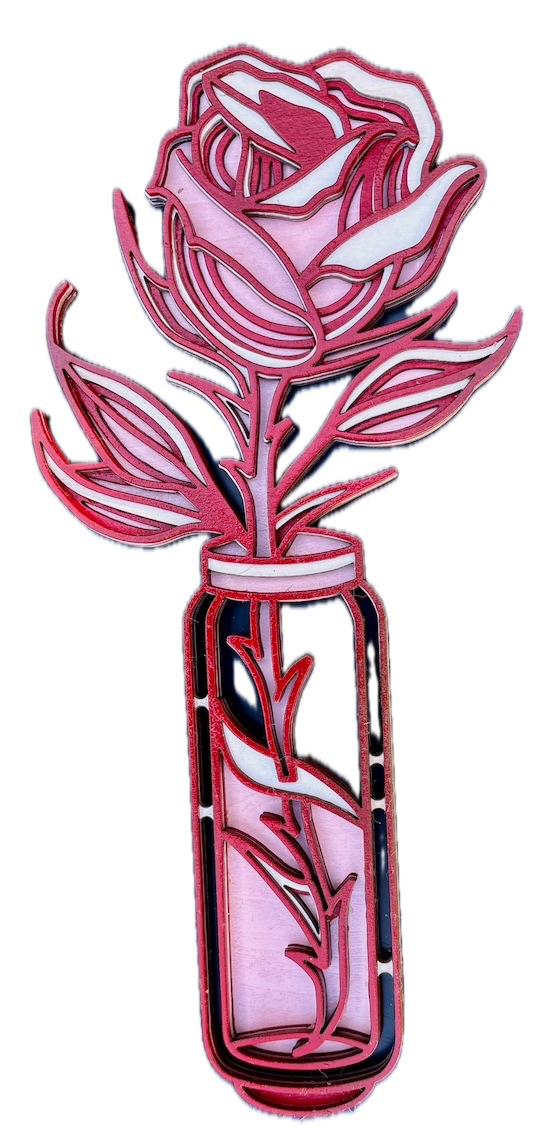
Add timeless beauty to your decor with this stunning multi-layered rose in a vase! The laser-cut design features a delicate, blooming rose with intricate petals and leaves, all elegantly framed by a vase silhouette. Perfect for gifting or decorating your home, this project brings the charm of a real rose without the worry of wilting.
- The The Perfect Rose – No Water Required laser cutting Project is a wall artwork.
- Ideal as a gift for all ages.
- This design uses plywood.
- It is an an intermediate Project, and the project can typically be completed in 2.25 hours.
However, the completion duration will depend on the laser cutter you are working with, the dimensions of the project, and your individual experience level. If you feel the estimated timing should be adjusted, please provide feedback via a comment below.
The free design can be downloaded here. (please notify me if the link is down)
Assembly instructions
Step 1. Ensure materials are ready to use

- Plywood: Choose stains or dyes to be applied after laser cutting to enhance the natural wood texture.

Step 2. Prepare the design file for laser cutting

- download the project design file from the source link available on the project page.
- Unzip the file to access the SVG.
- Load the SVG into your laser cutting software.

Step 3. Prepare the laser cutter for cutting

- Adjust the design size to fit your chosen material dimensions.
- Set the appropriate laser parameters:
- Cut: Specify power and speed for clean cuts.
- Follow your laser cutter’s recommended settings for each material type.

Step 4. Cut the design using the laser cutter

- Place your chosen material onto the laser bed surface.
- Run the cutting process.

Step 5. Clean and prepare pieces after cutting

- For Plywood: Wipe smoke marks away with a slightly damp rag. Apply the wood stain or dye.

Step 6. Complete the assembly process

- Align the layers carefully to ensure proper alignment of the design.
- Use appropriate adhesives:
- Wood Glue for plywood.
- Use clamps to secure the layers while the adhesive dries.
- A gloss spray enhances and protects the artwork for plywood.

Step 7. Get the finished project ready to display

- Attach a hanging mechanism, such as adhesive strips, to the back of the artwork.
- Verify that the mechanism is suitable for the wall surface.

You’ve brought it all together and completed The Perfect Rose – No Water Required! Put it on display and enjoy the finished look.

     If you enjoyed this project, please share your experience and leave a comment below.
Need help?
- Leave a question
The completed The Perfect Rose – No Water Required