Opening
In this feature, we help you create the Vintage Bi-plane Soars Laser Cutting Work.
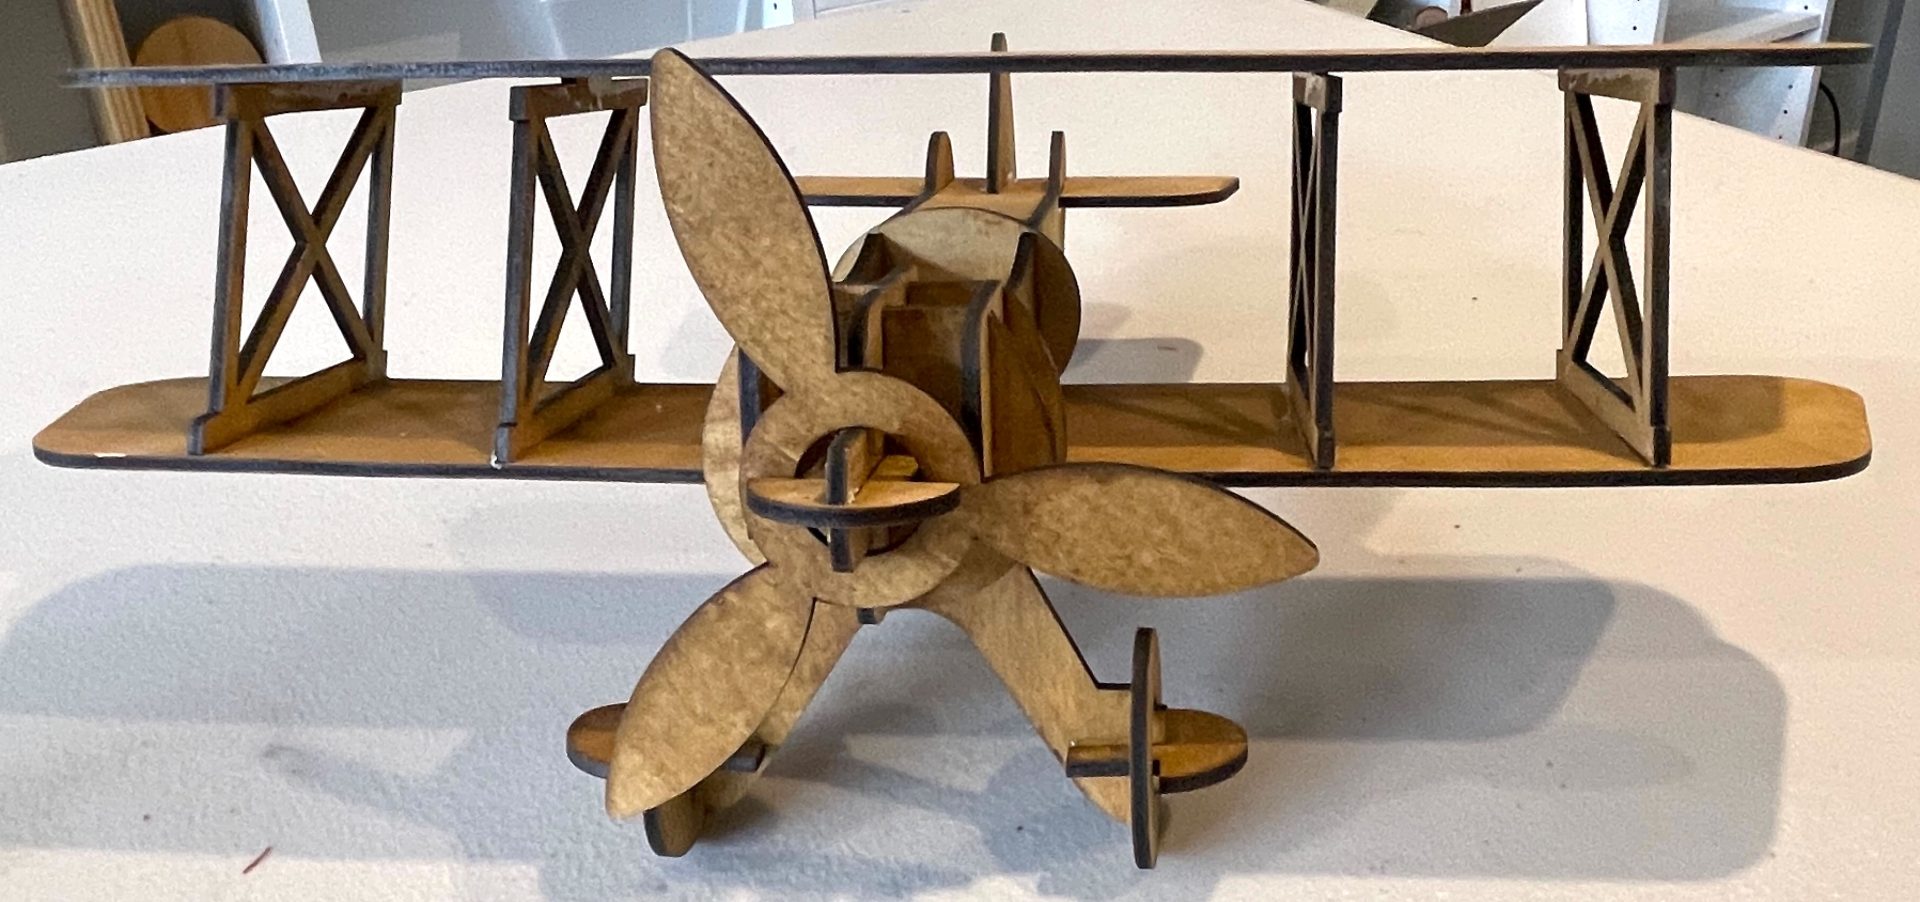
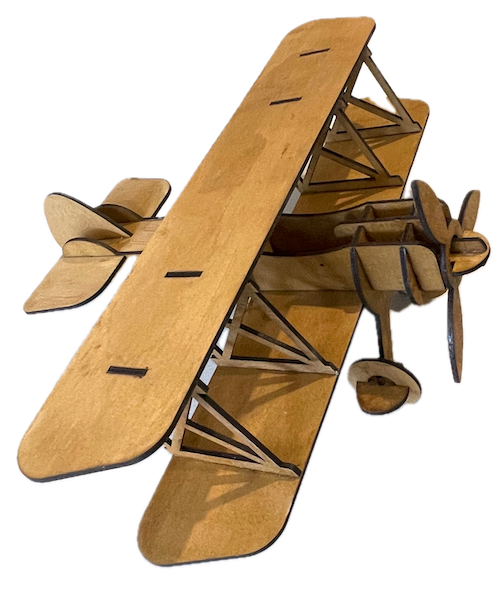
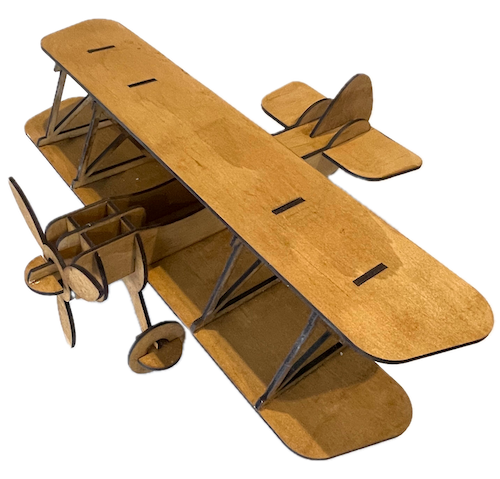
Take a step back in time with this delightful wooden bi-plane model. This classic design brings the charm of early aviation to your home, making it an excellent project for a gift to a child. Download the design files, follow the easy-to-understand instructions, and in no time, you’ll have a stunning piece ready to display or gift to a loved one.
- The Vintage Bi-plane Soars laser cutting Work is a toy.
- Perfect as a gift for children.
- The construction uses 3mm plywood.
- It is an an intermediate Work, and I estimate this can be completed in 2.5 hours.
However, the time needed to complete this project will depend on the laser cutter used, the scale of the project, and your experience level. If you feel the completion time should be adjusted, feel free to let me know via a comment below.
The free design can be downloaded here. (please notify me if the link is down)
Instructions
Note: the plane should be cut from 3mm plywood.  Consider applying the stain or dye before laser cutting.

Step 1. Gather and prepare all materials

- Plywood: Choose a stain or a dye to be applied after laser cutting to enhance the natural wood texture.

Step 2. Access and prepare the design files

- download the design file using the source link included on the project page.
- Unzip the file to access the SVG.
- Load the SVG into your laser cutting software.

Step 3. Set up the laser cutter correctly

- Don't resize; otherwise, the plane won't fit together. Move the pieces around to fit onto your plywood.
- Set the appropriate laser parameters:
- Cut: Specify power and speed for clean cuts.
- Use the manufacturer’s guidance when selecting material-specific parameters.

Step 4. Laser cut all design layers

- Lay the material flat on the laser bed.
- Run the cutting process for all required pieces.

Step 5. Complete finishing after cutting

- For Plywood: Wipe smoke marks away with a slightly damp rag.  If you still need to, apply the wood stain or dye.

Step 6. Secure and assemble all layers

- Use appropriate adhesives:
- Wood Glue for plywood.
- Use rubber bands or something else that stretches to secure the pieces while the adhesive dries.
- Ensure the wheels and propeller can freely turn.

You’ve brought it all together and completed Vintage Bi-plane Soars! Hang it in your chosen spot and enjoy the finished piece.

     If you enjoyed this project, please share your experience and leave a comment below.
Stuck and need help?
- 25 Common Laser Cutting Mistakes and How to Avoid Them
- xTool P2 Laser Cutter
- Laser Cutting: A Beginner’s Guide to Getting Started
- Leave a question
The completed Vintage Bi-plane Soars